


|
|
|||||
|
So it's been four years, and I've finally gotten around to getting a cone filter for my AE86. About damn time too.
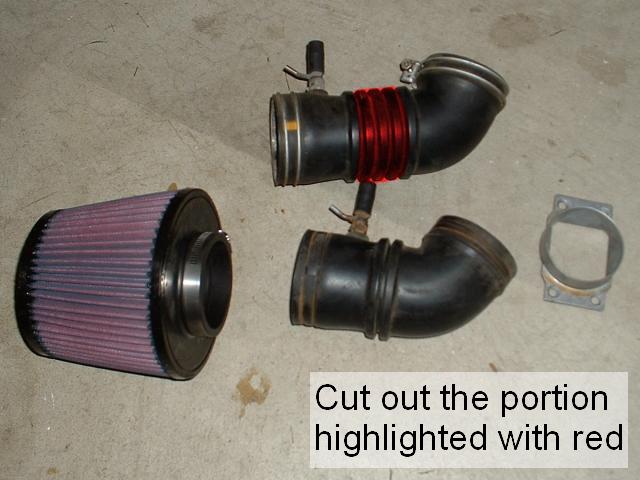
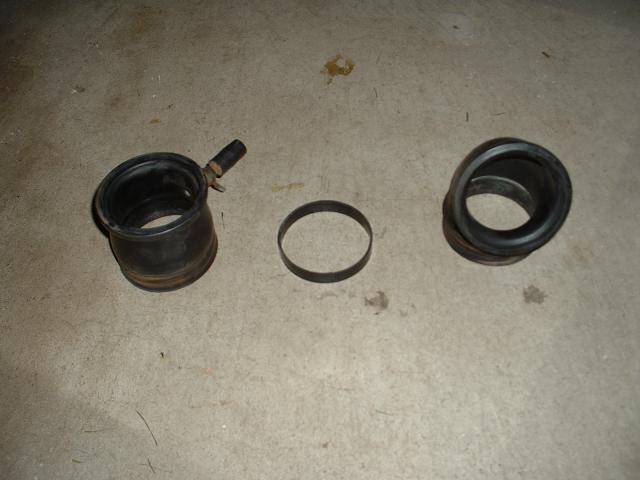
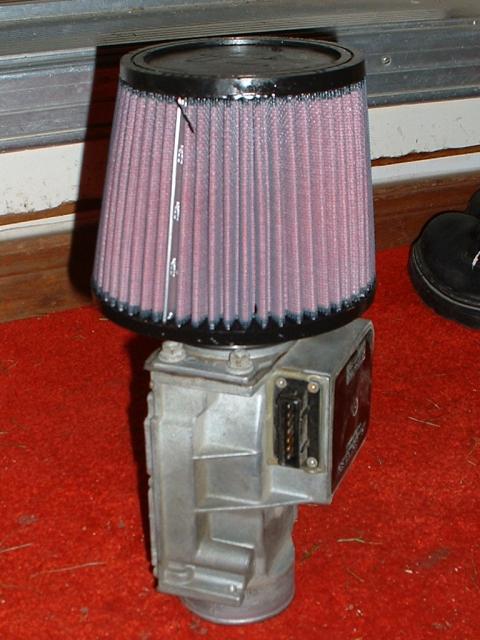
Materials Needed $5 - $20CAD - AFM adaptor: The AFM bolts directly to the airbox, so you need this to mount the filter to the AFM. I got mine from a Bosch unit inside a Renault. Other European cars of similar displacement with EFI should have this piece. They are also available on some older Z cars. $5CAD - Stock intake pipe (optional) - I hacked one up to fit this. Get another one if you want to be able to go back to stock so you can run in another class at AutoX. $60CAD - Aftermarket filter: Just get whatever fits. I'm using K&N P/N RU-4450. RC-9350 would have fit better, but I'm not paying twice as much for a chrome cap. Other stuff from around the house: Bit of pipe, epoxy or contact cement, block of something. Instructions Step 1: Trim the intake pipe where the corrugations are. Leave the wide bits on the ends of both of the remaining segments, as shown in the picture.
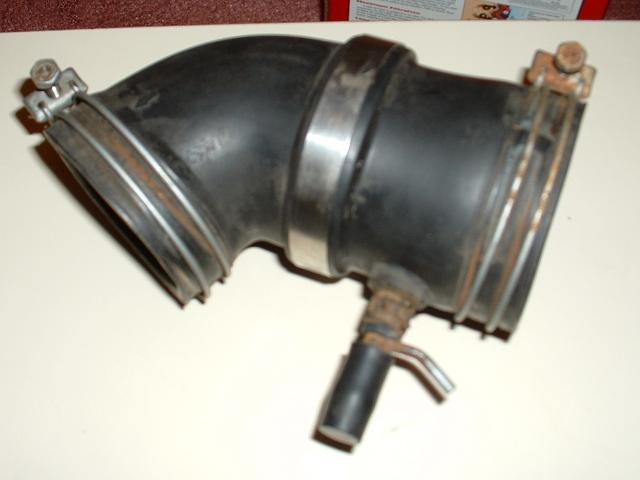
Step 3: While it's drying start removing the airbox assembly. There are 3 or 4 bolts holding it on to the chassis. Also unbolt that little vacuum line thingy from the AFM, but don't lose the bolt. Pull the vacuum line from the intake pipe too. Step 4: Put the adapter on the AFM. I re-used the gasket that was between the AFM and the airbox. Now would be a good time to test fit the filter.
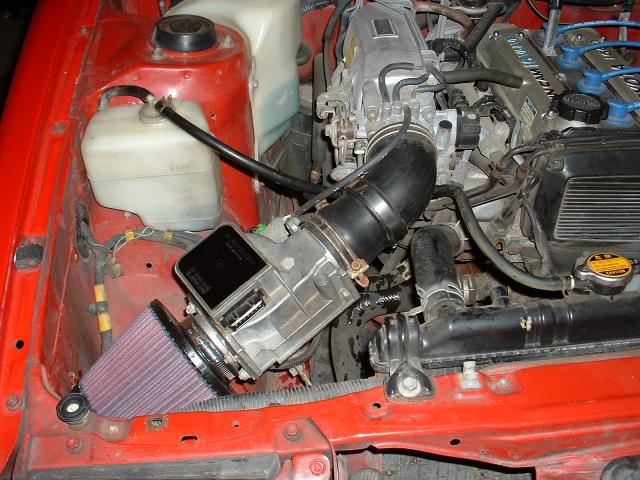
Step 7: Here's the tricky part: putting it in. I found it was useful to put the filter in the corner and then lower the rest into place. Step 8: Once you have the pipe on the TB and tightened, get something to prop up the AFM, as to relieve some of the stress on the pipe. Caution: if you pull up too hard on the filter putting in your support, you can separate the joint we just made in the tube, and you'll have to start over again. Step 9: Bolt that vacuum thingy back to the AFM, and hook the vacuum lines and AFM harness back up.
|
![]()
2026-04-30
Tokyo, Japan
NF
NB-NS-PE
ON-QC
MB
SK
AB
BC |
![]()
![]()
This site was designed and maintained by:
![]()