


|
|
|
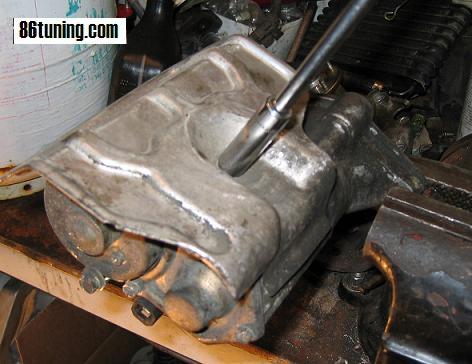
Well, this question comes up quite often: Use a 24mm socket and large ratchet to remove the EGR pipe "banjo bolt" Next remove the manifold heat shield to access the manifold nuts and bolts. There are four 10mm nuts to hold the heatshield on. Then there are five 14mm nuts/bolts: 2 nuts, 3 bolts hold the manifold to the head. Once the manifold nuts are undone, you get to remove or pry back the upper
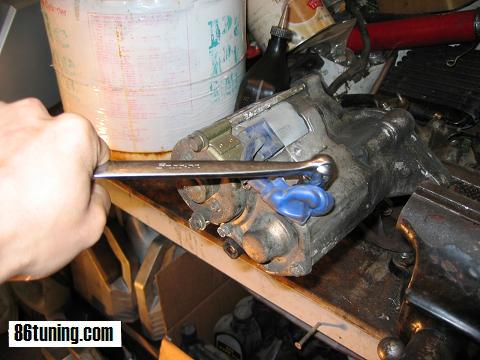
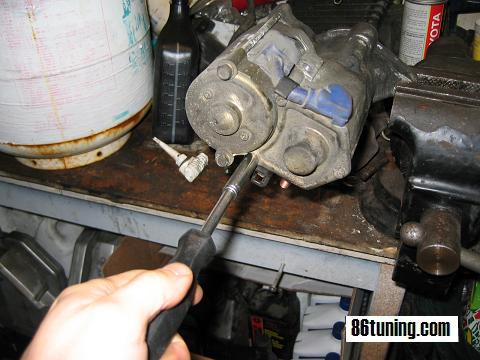
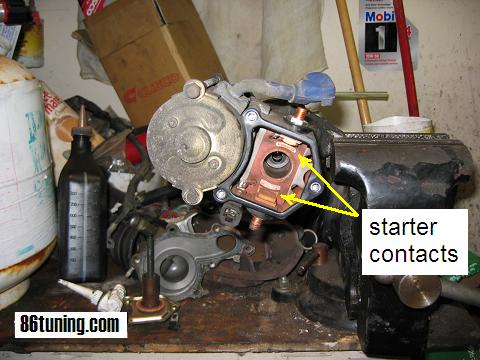
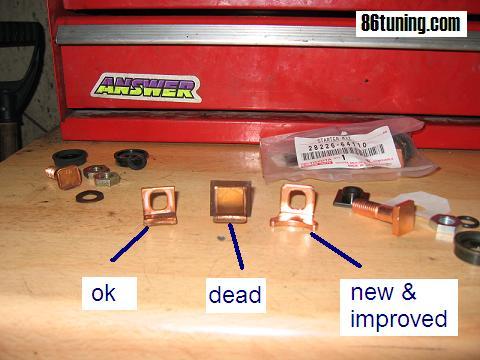
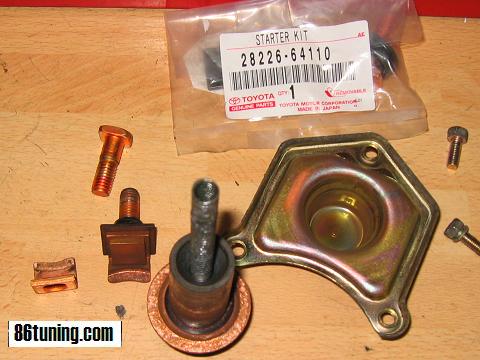
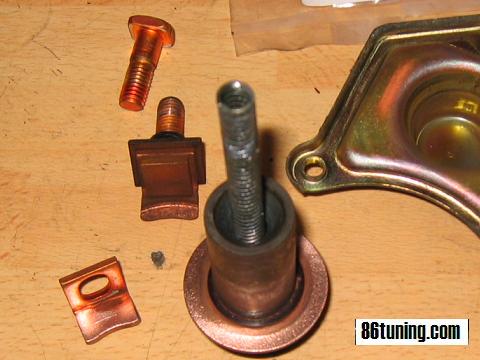
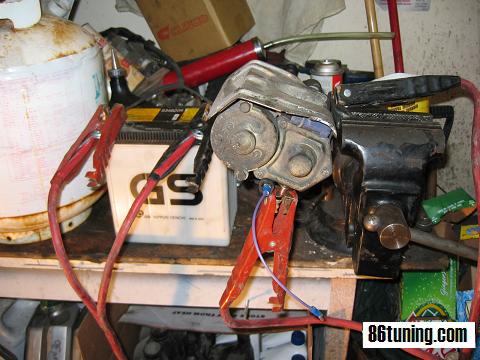
manifold about an inch. Phew. That was hard work. Take a 5 minute break, and then put your starter into a bench vise, and take the heatshield off (10mm bolt) and remove the other terminal wire (12mm nut) Remove the endcap from the starter. Most use 8mm bolts, some use 7mm bolts. After taking off the cap, the plunger comes out, and you expose the contacts themselves. Here's a pic of the plunger before cleaning it up with a wire wheel. And another pic of the contacts themselves. Write down the part number for the contact, as it's a special order item from most dealerships. Carefully wire wheel the plunger contact to clean it up a bit. Easy does it, no need to be harsh, just a gentle brushing with the wire wheel. Note that there is very little material removed, but all the carbon tracking is gone. Next, install the new contacts back into the starter. The new, improved, wider
"previa" contact replaces the worn out one. Use a 13mm wrench to hold the "bolt-head"
in place to keep the contact from twisting. Be sure that the contact sits
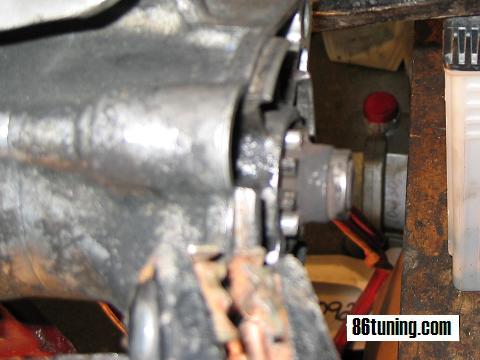
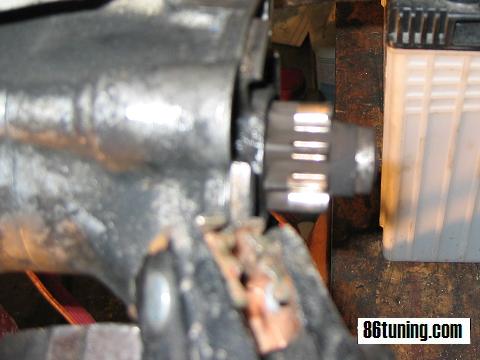
square in it's spot, without being twisted to one side. Take your regular jumper cables, and put the positive clamp on the starter terminal, and the negative clamp on the starter frame. Your SST plugs into the small terminal on the starter. Once you're sure you have the connections right, you can brush the SST against the starter terminal to apply +12V to the small connector on the starter. The starter will lurch (unless it's firmly held in a vise as shown) and the starter gear will spit out about an inch and spin up simultaneously. Keep your fingers clear! Resting position, no power applied Starting position, with +12V applied Once you've tested your starter, carefully disconnect your jumper cables etc,
and then put your starter back into the car.
|

![]()
2026-04-30
Tokyo, Japan
NF
NB-NS-PE
ON-QC
MB
SK
AB
BC |
![]()
![]()
This site was designed and maintained by:
![]()